Getting Organized

Getting organized and staying organized can be vital.

It saves you time, sometimes money, and it definitely saves your sanity.

You know the little things like keeping things in their proper space.

But, how bout keeping a running list so that when you run out of something you know to get more?
It saves you checking when you make your grocery list.

Planning meals is good.
I don’t always get it done, but it is helpful.

You know what to buy at the store,
you don’t have to wrack your brain trying to figure it out,
and if you pack lunches and/or make breakfast, things go smoother.

If you do pack lunches for work or school, leftovers can be great.
Make extra food if you can.
If that doesn’t work, make a meal and portion it into serving sizes and freeze or refrigerate for later lunches.

We are not cold cereal eaters.
Which means making breakfast every morning.

You can always bake muffins the night before
Or
you can mix the dry ingredients in one bowl and wet ingredients in another bowl and mix them and bake in the morning.

Cinnamon rolls can be left to rise in the fridge overnight.
Take out while you preheat the oven.
Bake and nice hot breakfast.

How do you find ways of making things go smoother in the kitchen?

Eating Healthy

Lots of people think about getting healthy at the beginning of the new year.

It could be because it is the new year or because of all that eating through the holidays makes one want to feel better.

But, any time is a good time to start being healthy.

Start by drinking a little more.
Water is the best thing you can have.

Lots of people don’t like plain water.
Add a piece of fruit to it to add some flavor.

Don’t try to change everything too fast.

Healthy can taste good.

I don’t believe in low fat.

Many things you buy that are low fat are not as healthy as something with full fat.

Your body needs a certain amount of fat.
And the right kind of fat.

Lots of vegetable oils aren’t really healthy.
They oxidize in the body and are not the best for cells.

Olive oil, uncooked or heated at low temperature is good.
Coconut oil, provided it is extra virgin organic and does not contain hexane, is good.
Butter is good. 

Avocados are a good fat source.

It is fine to watch the fat, just make sure to watch the sugar too.

I do recommend doing lots of reading before you figure out your plan.
Don’t just go by FDA or USDA guidelines.
Look at alternative health sites.
Lots of them and learn what is best for you.

We all have different needs.
It make take a while to figure out yours.

You can do it.

You just have to stick with it.

Ruth’s Yummy Stuff: Dips

 
This is what I have been up to lately.
My computer was being a pain.
Maybe not so much the computer, as the programs not cooperating.
So, I spent a lot of time trying to figure out how to get it done.
I wrote a book and than converted it to an ebook for Kindle.
I am planning to submit it to be on Nook, but I am taking the day off for that.
With each recipe, I have included a picture.
My hope is to make several cookbooks, with each one featuring a type of food.
Ruth’s Yummy Stuff: Dips is what I decided to go with.


Peanut Butter Energy Bites

These are yummy and fast and healthy. No cooking or baking is involved. You are gonna love these!

You will need a bowl for mixing.

Ingredients:
1 cup oatmeal
1/2 cup chocolate chips
1/2 cup peanut butter
1/2 cup flax meal (ground flax seed)
1/3 cup honey
1 teaspoon vanilla extract

Put all the ingredients in a bowl and mix together. Start with a spoon and finish with your hands.
Roll into balls and put into a container with a lid.
Refrigerate to set up.

I just keep mine in the fridge, but you don’t have to.

I get about 18. How many you get depends on how big you roll the balls.

DO NOT cook the oatmeal first!

Gluten Free Pie Crust

I LOVE pie! Out of all the desserts in the world, I think pie would be tops. My favorite filling is debatable. There are just too many great ones to choose from.

I have problems with gluten.

At first, I thought it was just wheat. Sadly, it is all gluten.
I know there are plenty of wheat recipes scattered on the blog.
But, many of the recipes can be used with other flours.
A lot of the recipes I wrote before I quit wheat and after that all gluten.

The biggest thing I missed was pie.
It is really hard to make a gluten free pie crust in the way I always made a crust.

Most recipes I came across were for using parchment paper to roll it out.
I didn’t want to do that.

Or, they were just for single crust pies.

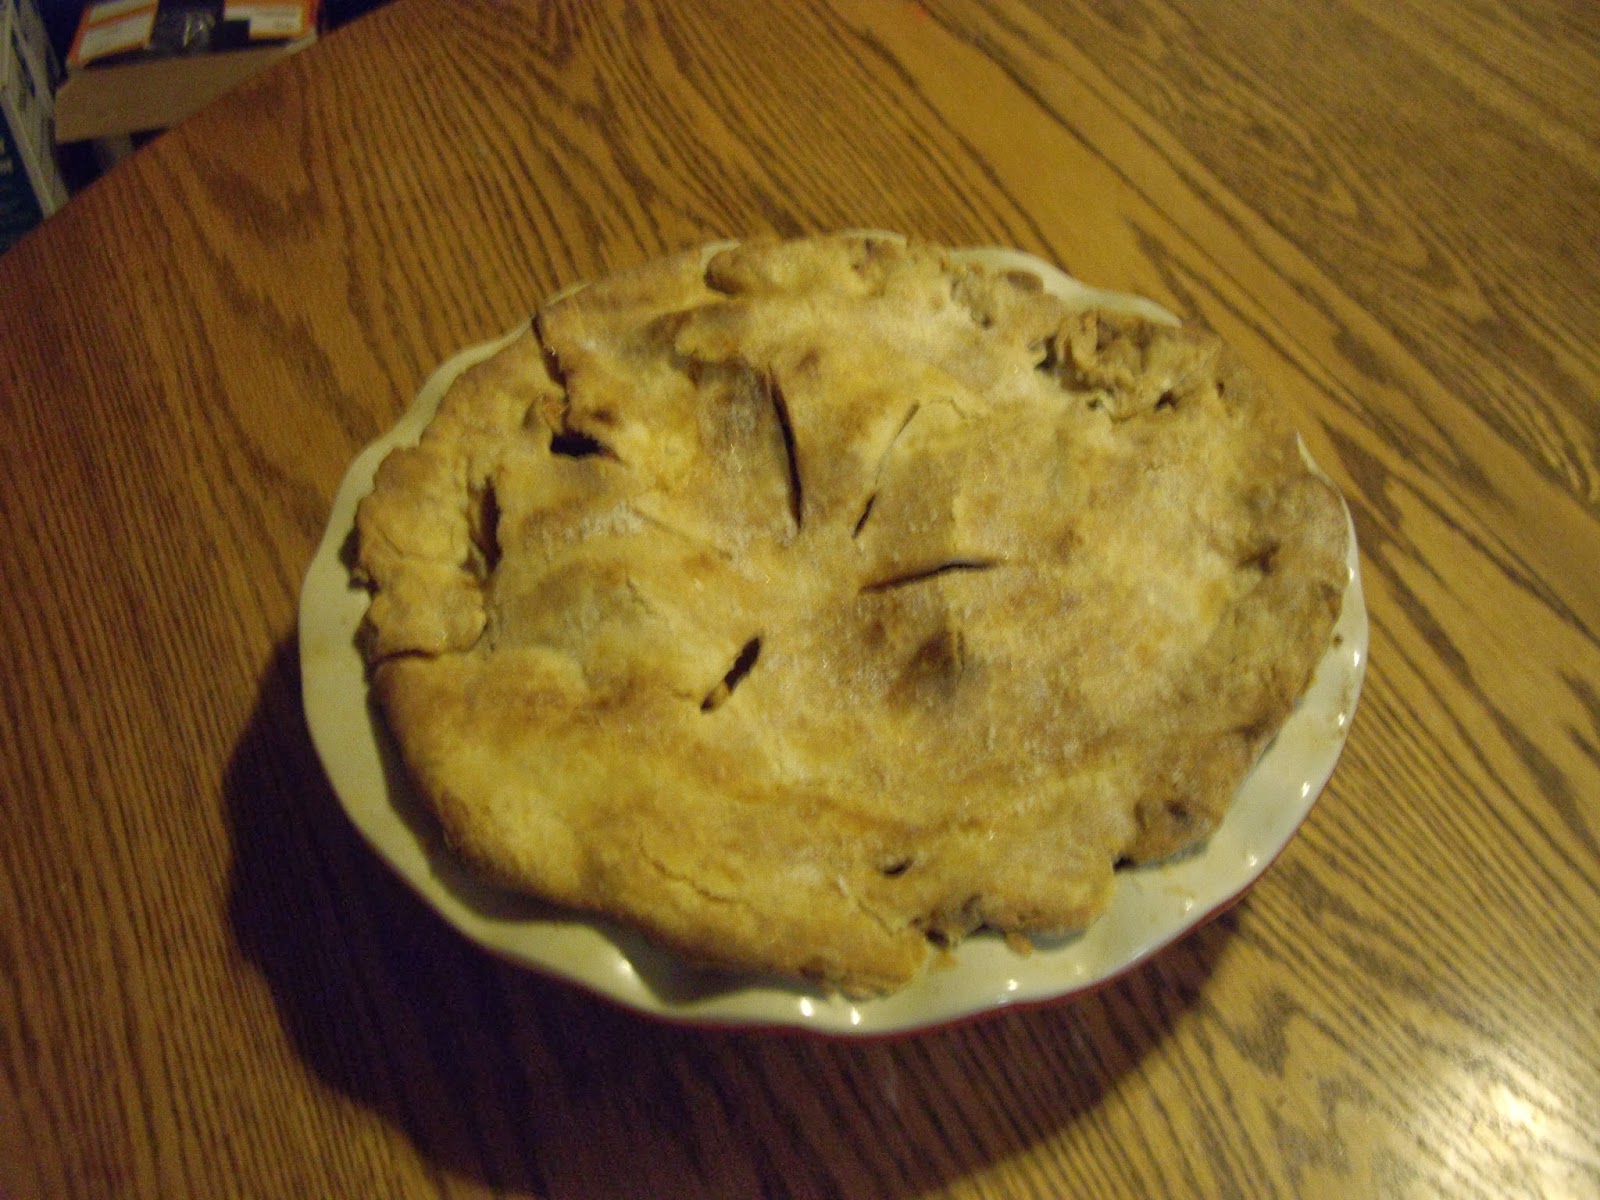
So, I came up with this recipe. The crust came out flaky, just like a pie crust should.
This is best made ahead at least a few hours or even overnight.

You will need plastic wrap for wrapping the dough in.

Ingredients:

2 cups Gluten Free All purpose flour blend- I used Namaste Perfect Flour Blend, but use what works for you.
1 teaspoon salt
2/3 cup butter
1 egg
2 to 4 Tablespoons water
2 teaspoons lemon juice

In a small bowl, whisk together the lemon juice, 2 Tablespoons water, and the egg.
Set aside.
In a larger bowl, mix the flour and salt.
Work in the butter with your hands or a fork until the mixture is crumbly like.
Some of the butter pieces can be bigger and some smaller.
Add the egg mixture and stir in with a fork.
If it is really, dry add another tablespoon and the last tablespoon, if needed.
Work it in with your hands just until it you can get it to come together in a ball.
Divide the dough in two and make into slightly flattened balls.
Wrap in plastic and refrigerate for a few hours, preferably a day.
When ready to make your pie, take a piece of dough out of the refrigerator about five to ten minutes before rolling it out.
Flour the counter well, put the dough on it and flour the top of the dough.
Carefully roll it out to a little larger than the pan size, turning over every so ofter so the dough doesn’t stick to the counter or the rolling pin.
Transfer the pie crust to the pan and fill it.
Repeat with top crust.
Stick the pie, covered, in the fridge while preheating the oven.
Place a cookie sheet or pizza pan in the oven before you preheat.
Preheat according to the recipe.
To bake the pie, place the pie on the pan. It will make for a crisper crust.
Make sure to put slits in the top crust before you bake.

This dough also freezes well.

So, if you plan just a single crust pie, wrap the other half well in plastic wrap and freeze.

Pumpkin puree

There are different ways to cook up your pumpkin. You can cut it up and peel it and than steam it.

That is one way.
I do mine different and I think it is a much simpler way to do it.
First off, smaller pumpkins are easier to work with.
Use pie pumpkins for baking, if possible. They are meatier.
You can also use all purpose pumpkins that are grown for baking or jack-o-lanterns. But, the great big ones have a lot of liquid in them and your baked goods don’t turn out quite as well .
Preheat your oven to 350 degrees Fahrenheit.
You will need a an or two to hold the pumpkin halves.
You will also need a large knife to cut the pumpkin and a spoon to scoop out the seeds
To puree, you will need a blender or food processor.

Wash your pumpkin.
Now, cut your pumpkin in half. 
Cut it in half so that the top half is one piece and the bottom half is the other piece. 

Don’t cut it in half the other way. It is easier to cut that way. But, it takes a lot longer to get the pumpkin to cook though. I really don’t know why, but it just seems to.
Now, you need to scoop out all the seeds. Those you can either save to roast for a treat. Or you can save them to dry and plant later for more pumpkins.
Take the pumpkin halves and place cut side down in the pan.
Pour a small amount of water into the bottom of the pan.
Put the pan in the oven. 
Bake for about an hour and a half or until the pumpkin is tender when pierced with a knife.
Check once in a while to make sure there is still water in the bottom of the pan.
If the pan is dry, add a little more water.
When the pumpkin is tender, take out of the oven and let it sit until it is cool enough to handle.
When you are able to handle the pumpkin, take a spoon and scoop out the pumpkin pulp out of the shells. Add to the container of a blender or food processor.
Puree.
Now,you are ready to bake or freeze it.
Canning is no longer recommended by the USDA.


Pear Crisp

I love a nice warm from the oven crisp. Until this year, I had never tried it using pears. I don’t know why, because it tastes fabulous.

You will need a baking dish that holds 2 quarts. I usually use a round glass casserole, but you could use a 9″ square baking pan.
Preheat your oven to 375 degrees Fahrenheit/190 Celsius

Ingredients:
5 cups sliced and peeled pears
1/2 cup oats
1/4 cup oat flour(all purpose flour will also work)
1/2 cup brown sugar
1/8 teaspoon nutmeg
1/8 teaspoon ginger
1/8 teaspoon cinnamon
1/4 cup butter

Peel and slice the pears and spread evenly in the baking dish.
In another bowl, combine the flour, oats, brown sugar, cinnamon, nutmeg, and ginger.
Cut in the butter until you get coarse crumbs.
Sprinkle the brown sugar mixture over the pears.

Bake for 30-35 minutes or until the pears are tender when pierced with a sharp knife.

Serves 6.

Frugal Me Fridays- What Is It?

I can’t believe it is Friday already.
I’ve been busy canning and freezing and time is just flying by.

I’ve spent a lot of years learning how to stretch a dollar.
I make everything from scratch.
I make stock from a turkey carcass.

We all have a different idea of frugality.

Some people clip coupons to save money.
I don’t use coupons much because I don’t use what I can find coupons for.

I would like to know what is frugal for you
or do you have any questions on how to be frugal with something.

Leave me a comment or send me an email.
My email is greatcookrep@live.com.

Have a great Friday!

Peaches, Pears, and Apples OH MY

Sunday was a busy day.
There was plenty of picking going on.

My husband, daughter, and I went to my parent’s place to pick fruit.
My sister showed up to help too.

Dad has a apple tree with a bumper crop.
A couple pear trees and a couple peach trees too.

The peach are the small white Iowa peaches.
Here is some of what we brought home.

These are not everything either.
The fruit crisper drawer is full of apples and there is a cooler full in the garage.
I have a cooler full of pears that isn’t in this pictures.
There is also a huge box of peaches sitting in the back of the truck.
Too full for us to want to move until some of the peaches are gone.

Mom and Dad also have tons at home.

I did make butterscotch peach jam yesterday.

Today I am planning on making applesauce.
I may freeze some apples today too.
Later this week, I will be doing apple butter.

The pears aren’t ripe yet.
They don’t ripen til picked off the tree.

I am still doing tomatoes too.

One day I need to find time to cook my neck pumpkin.
This I got from a friend.

I’m going to be busy.
But, a good kind of busy.

Frugal Me Fridays- Freezing Fruit

If you find yourself with an abundance of fruit, freeze it for later.

Sometimes there are discounted or free bananas because they are over-ripe.
Grab them!

If you are given fruit, take it.

Fruit is so simple to freeze.

Peel and cut if needed.
Or just wash.
Freeze.

If you want to make sure the pieces don’t stick together, freeze in a single layer on a baking sheet for a couple hours.
Take out of the freezer and put into containers or freezer bags.

Bananas are super simple.
You can freeze them for a frozen treat or for baking.

For treats, you will want to peel and either leave whole or mash.
My daughter likes them left whole, but you can mash them until smooth and than scoop out like ice cream.
If you are planning to bake with them, you can peel and mash or you can just stick the whole banana in the freezer.

My mom peels and mashes. She measures and than freezes.

I just stick the unpeeled banana in a bag and into the freezer it goes.
To use, thaw out and snip off one end of the banana and squish out the banana.
What I like about doing it this way, is that the mashing is virtually unnecessary.

I have heard frozen grapes are good treats too.
I have not tried it, but it’s an idea worth trying.