Making Your Own Honey Mustard


This recipe came about for a few reasons.

One, I had bought mustard in bulk and had a big container of honey.

Two, I realized we eat honey mustard way more often then plain mustard.

Three, I read the labels on the honey mustard at the store and was amazed many brands don’t even have honey in them, but HCFS and also other kinds of sweeteners. I try to avoid high fructose corn syrup as much as possible.


Ingredients:

A very generous 1/3 cup honey
A very generous 2/3 cup yellow mustard
1-2 Tablespoons brown sugar- optional

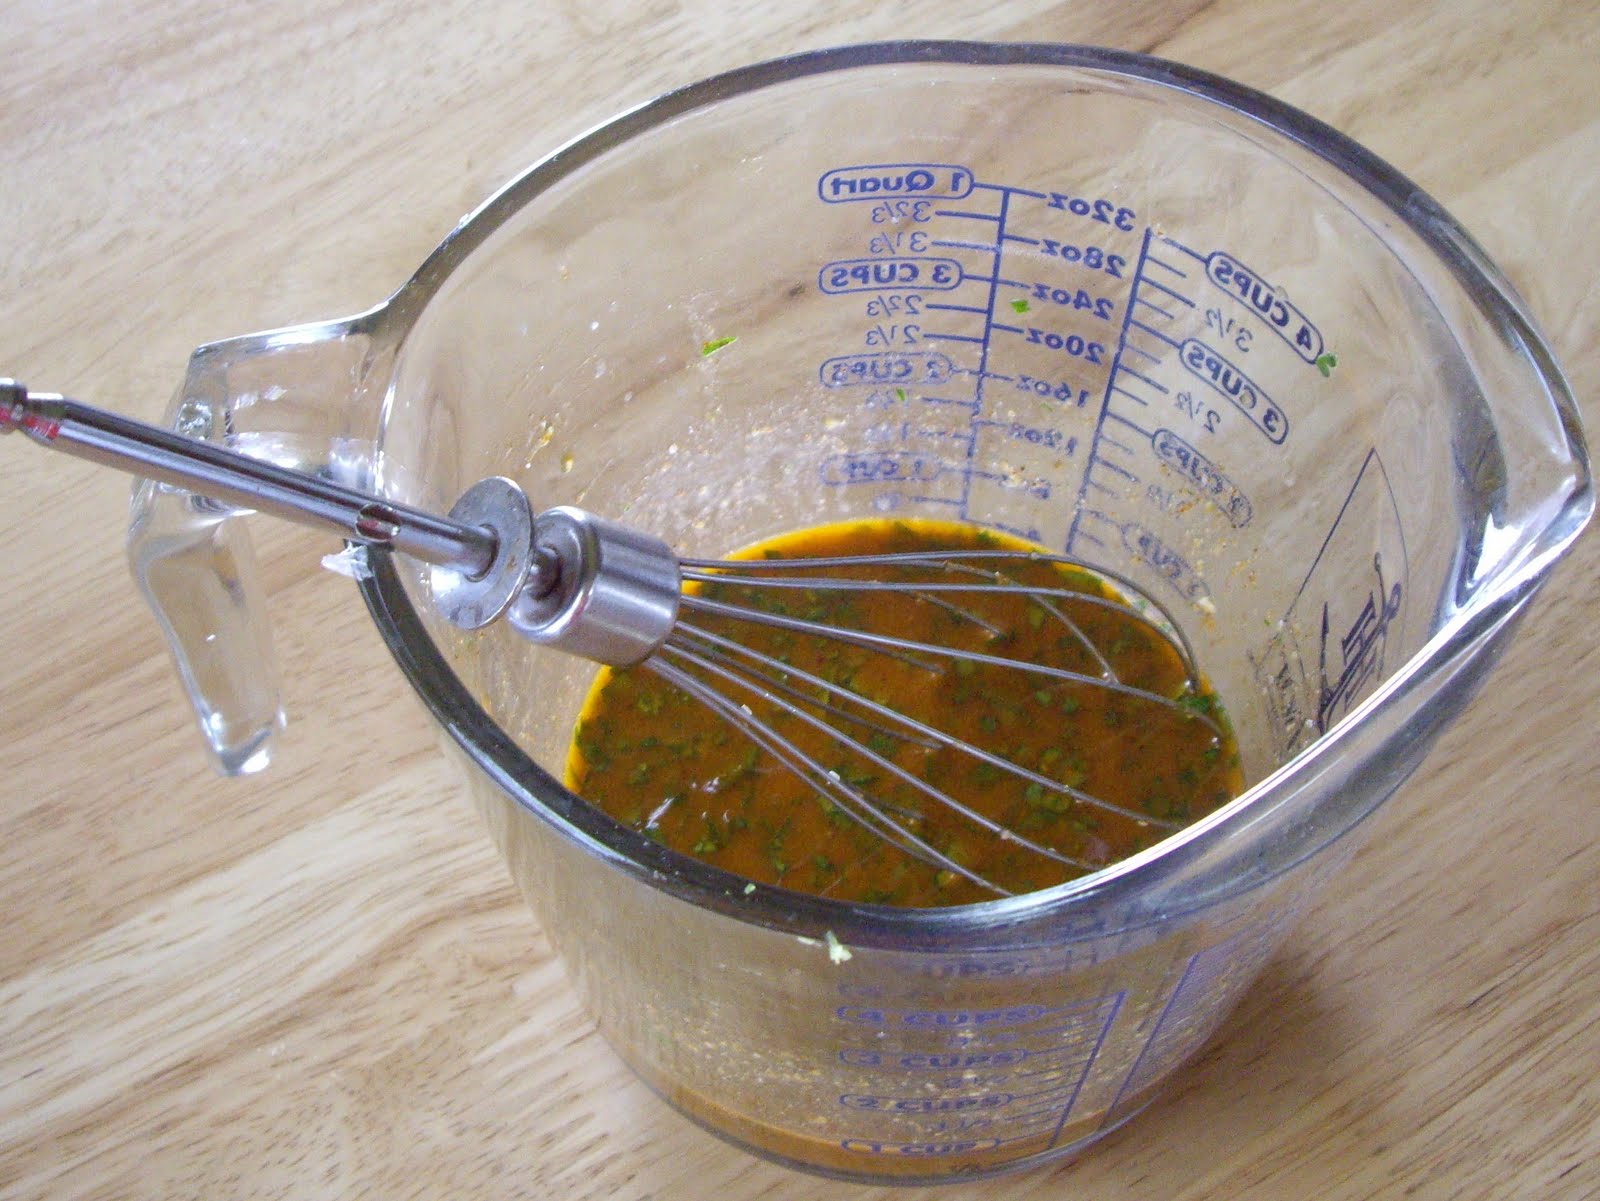
Combine the mustard and honey in a saucepan. Add the brown sugar if you think you need the extra sweetness.
Bring to a sputtering simmer and stir occasionally for about 5 minutes.
Cool slightly and pour into a glass jar.
Since it thins out some as it cooks together, you will get 1-1/2 to 2 cups honey mustard.

Going Bananas!

Bananas are great for baking.

They make everything really moist.

Most times when you buy bananas, they are either under-ripe or overripe.

When, they are just right, they are good for eating fresh and for making banana cream pie.

When they are overripe is when they are perfect for baking things like banana cookies, banana bread, and banana cake.

I love buying them when they sell big bags of overripe bananas really cheap. I can also get them free from my town grocery when they are pretty brown.

If there are too many to use at one time, stick some in the freezer.
Put the unpeeled bananas in a bag and freeze them for later baking.
When you need some, just take out what you want, thaw and mash for your favorite recipes.
Just snip off the end of the banana and squish out the banana.
The thawed bananas mash easier than fresh bananas.

Some tips on mashing bananas.
If you have an old potato masher, that is great. It works so much better than trying to use a fork.
Another option is to stick them in a blender or food processor.

If bananas are not mashed really well, hunks of banana can settle to the bottom of whatever you are baking and it doesn’t really bake right.
It will test done, but when you slice it you will have a rim of banana along the bottom crust.


Egg Size is Important!


Large size eggs are the standard in recipes.


Most times the recipe will say large, but not always.

The size egg can make a difference.
If you buy eggs in different sizes, or you have your own eggs because you raise chickens, you can adjust the number you use to make sure your food turns out.

Here is an egg size equivalent chart:


1 large egg= 1 jumbo, 1 extra large, 1 medium, or 1 small egg

2 large eggs= 2 jumbo, 2 extra large, 2 medium, or 3 small eggs

3 large eggs= 2 jumbo, 3 extra large, 3 medium, or 4 small eggs

4 large eggs= 3 jumbo, 4 extra large, 5 medium, or 5 small eggs

5 large eggs= 4 jumbo, 4 extra large, 6 medium, or 7 small eggs

Soft Oatmeal Chocolate Chip Cookies


These are not the oatmeal cookies you are probably used to.

They are soft and not flat.
You can make these without chocolate chips, but they are a nice addition.

Preheat your oven to 350 degree Fahrenheit oven.
Grease some cookie sheets.

Ingredients:
1/2 cup(1 stick) unsalted butter, softened
2 Tablespoons(1/8 cup) vegetable oil
1 cup brown sugar
1 egg
6 Tablespoons(3/8 cup) sour cream
2 teaspoons vanilla extract
2 cups rolled oats
1/2 teaspoon baking soda
1/2 teaspoon cinnamon
1/2 teaspoon salt
1-1/2 cups flour
1 cup chocolate chips
1 cup chopped nuts-optional

In a small bowl whisk the flour, salt, cinnamon,and baking soda.
Set aside.
In a large bowl, cream, the sugar, butter, and oil.
Add the egg and beat well.
Stir in the sour cream and vanilla extract.
Stir in the oats.
Add the flour mixture. Mix well.
Add the chocolate chips.
Let the dough rest for 15-30 minutes. Letting it rest is important. The oats will absorb moisture from the rest of the dough.

Use a tablespoon or large cookie scoop to put cookies on the sheets.
Bake the cookies for 12 minutes or until they are light brown.

Remove to a cooling rack.

Makes 3-4 dozen cookies.

French Fries


French fries are so good.

I love making my own fries.
They are pretty simple.
My mom always made them. She hardly ever bought them.

Potatoes- My rule of thumb is 1 to 1-1/2 potatoes per person.
Cooking oil
Salt to season

If you have a deep fryer, fill it with oil and heat it to 350 degrees Fahrenheit.
If you don’t have one of those, just pour oil into a wide deep pan and heat oil to 350 degrees Fahrenheit.

While the oil is heating, make your fries.
Peel if you want. Or just leave them unpeeled.
Cut into fries the size you want. Slice them and cut each slice into lengths.

With a slotted spoon or a fry basket, lower the fries into the hot oil.
Now, if you want to get crispy on the outside fries- fry for 1 minute and remove fries for 10 minutes. That is the blanching stage. Add back to oil and fry for an additional 5-6 minutes.

They will seem crisp at first without the blanching stage, but won’t stay as crisp without it.
If you don’t care if they are super crisp, just add to the fryer or pan and fry for 5-7 minutes.

Remove from the oil.
Drain.
Sprinkle with salt.
Serve.

Buying, Storing, and Using Spices

Herbs and spices can go bad. Basically, they just get old and lose their flavor.

You don’t have to taste to tell. They won’t have a very strong smell anymore either.


But there are ways to help you get more from your spices.

The most obvious way is buy your spices in smaller amounts, so they will always be fresh.

But, you can do other things such as:

Storing your spices away from heat and light. Keep them in a cupboard or a spice rack with doors.

Buy a larger jar of spices, but only keep a small amount out. Store the rest in the freezer.

If possible, buy whole nutmeg, cinnamon chunks, peppercorns,cumin seeds, etc. and grind them. Whole spices will keep longer than ground.
Just pick up a coffee grinder and use it just for grinding spices.

Coleslaw

I love coleslaw!
It is one of my favorite side dishes. I could eat it all the time.
This tastes similar to the coleslaw you can get at KFC.
I got it from a copycat recipe book with a few changes of my own.

Ingredients:

1 head of cabbage
1 carrot
1/2 scant cup granulated sugar
1/2 teaspoon salt
1/8 teaspoon black pepper
1/4 cup milk
1/4 cup sour milk or buttermilk
1/2 cup mayonnaise
1-1/2 Tablespoons white vinegar
2-1/2 Tablespoons lemon juice

The best way to chop up your cabbage and carrot is to use a large knife.
It is really easy to use a food processor, but the cabbage turns out mushy. If you have an old hand grater, that will work too.

Put the cabbage and carrot in a large mixing bowl.

In a small bowl, combine the sugar, salt, pepper, milk, mayonnaise, buttermilk, vinegar, and lemon juice. Whisk until smooth.

Pour that over the cabbage and mix well.

Cover and refrigerate the coleslaw for at least 3 hours before serving. The longer you can let it sit, the better the flavor.

You will get 8 servings.
Yummy!

Butter Vs. Margarine in Baking

When you bake is there a difference between using butter and using margarine.


Yes, there is.

Most recipes call for unsalted butter. Margarine has salt so if you plan to use margarine you should remove 1/4 teaspoon salt from the recipe or just eliminate it entirely.

Another thing to remember is that butter will get hard fairly quickly so if you are making cookie dough that needs to be chilled you can stick it in the freezer for quicker chilling only if you plan to use margarine and NOT butter.
If you use butter, the butter will cause the dough to be too solid to shape. It won’t be frozen solid but it will not shape or roll without it being allowed to soften. And that kinda negates the whole chilling for easier rolling.

Cookies made with butter will have a crispier outside than cookies made with margarine.

Butter will melt at a lower temperature than margarine so cookies may spread more when using butter.

One thing to remember is that butter contains 80% fat and the amount in margarine can range from 100% fat to less than 50%.
Having a higher fat content is important when baking. So try not to use low fat margarine or tub margarine.

But, when making candy, you should always use real butter for the best quality. That is due to the fat content.

I always use butter over margarine when cooking. I also use cooking oil and shortening.

But when it comes done to it, it is whatever you prefer to use.

Just remember that one is not exactly the same as the other.


Lime Cilantro Marinade


This is a great marinade for beef, pork shrimp, or chicken.

If you use this for seafood, you don’t need to marinate for more than an hour or two.
For chicken or beef marinate for at least 2 hours and maybe even overnight.

Ingredients:

1/3 cup olive oil
1/3 cup lime juice
2 cloves garlic, crushed
3 Tablespoons finely chopped fresh cilantro
1 Jalapeño or Serrano pepper, seeded and minced
2-3 teaspoons chili powder
2 teaspoons ground cumin

In a bowl or glass measure, combine all the ingredients and whisk well until blended.
Pour over your choice of meat, poultry, or seafood.

Why Marinate?

Marinating does more than just flavor your food.


If you just want flavor, you can just season the outside.

But marinating reaches deep inside your food so the flavor flows through the whole meat or vegetable.

But, marinating also makes your food more tender and juicy.

Most marinades contain some kind of acidic ingredient such as lemon juice or maybe even vinegar.
The acid helps to break down tough, fibrous tissue and the result is tender even when using a tough cut of meat.

When you are planning to marinate, you don’t have to worry about tenderizing the meat.

You can buy marinades, use a salad dressing as one, or even make one from scratch.

One of my favorite marinades is basil marinade. Every summer, I just can’t wait for my basil to get big enough so I can make it. I usually make it with chicken breasts on the grill. It is fantastic. If you haven’t tried it, I highly recommend it.